Exploring Gluten-Free Hot Cross Buns: Challenges And Tips
Challenges of Gluten-Free Hot Cross Buns
Lack of Wheat Flour
Gluten-free hot cross buns pose a singular set of challenges as a result of absence of wheat flour, which is a key ingredient in conventional hot cross buns.

Wheat flour supplies construction, elasticity, and flavor to the buns, and replicating these qualities with gluten-free flour blends can be difficult.
Gluten-free flour blends typically lack the identical binding properties as wheat flour, leading to buns which are crumbly or dense.
Additionally, the absence of gluten can make it challenging to attain the desired chewy texture that is attribute of hot cross buns.
To overcome these challenges, bakers should rigorously select gluten-free flour blends that include a wide selection of starches and gums to offer structure and elasticity.
Yeast and baking powder can also be used to boost the rise and lightness of the buns.
Furthermore, including xanthan gum or guar gum to the dough may help enhance dough handling and forestall crumbling.
Despite these challenges, it’s potential to create scrumptious and satisfying gluten-free hot cross buns with the proper components and techniques.
Different Texture and Rise
Challenges of Gluten-Free Hot Cross Buns:
– Different Texture: Gluten-free flours are usually drier and less elastic than wheat flour, resulting in a denser and extra crumbly texture.
– Rise: Gluten acts as a binder and helps dough rise by trapping pockets of air. Without gluten, dough may not rise as a lot, leading to flatter buns.
– Browning: Gluten contributes to the browning of baked goods. Gluten-free buns may not brown as evenly as conventional buns.
– Taste: Gluten-free flours can impart a slightly completely different flavor profile than wheat flour, which can affect the general taste of the buns.
Avoiding Grittiness
Challenges of Gluten-Free Hot Cross Buns:
– Achieving the identical texture as conventional wheat-based hot cross buns due to the lack of gluten’s elasticity and binding properties.
– Avoiding grittiness from gluten-free flours, which are likely to have a coarser texture than wheat flour.
– Maintaining a moist crumb with out the addition of gluten, which helps retain moisture.
– Preserving the characteristic spice blend and tangy flavor of traditional hot cross buns.
– Ensuring a visually interesting look with a golden-brown crust and distinct cross markings.
Avoiding Grittiness:
– Use finely floor gluten-free flour blends particularly designed for baking.
– Sift the flour before use to take away any lumps or coarse particles.
– Soak the flour combination in liquid for a time period before baking, allowing it to soften and take up moisture.
– Use a combination of various gluten-free flours, corresponding to rice flour, potato starch, and tapioca flour, to realize a balanced texture.
– Add a small amount of xanthan gum or guar gum as a binding agent to assist improve the dough’s elasticity and cut back grittiness.
Tips for Perfect Gluten-Free Hot Cross Buns
Use a Gluten-Free Flour Blend
Use a gluten-free flour mix that incorporates quite a lot of flours, corresponding to brown rice flour, white rice flour, potato starch, tapioca flour, and xanthan gum.
Make positive the flour blend is certified gluten-free to keep away from any cross-contamination.
Use slightly more flour than an everyday hot cross bun recipe, as gluten-free flour can be extra absorbent.
Add further moisture to the dough, similar to milk, yogurt, or mashed banana, to help hold the buns moist.
Let the dough rise in a heat place for a longer time frame, as gluten-free dough can take longer to rise.
Be careful not to overwork the dough, as this could make the buns tough.
Bake the buns at a lower temperature for a longer period of time, as this will assist to stop them from changing into dry.
Add Xanthan Gum for Elasticity
Xanthan gum, a gluten-free thickening agent, enhances the elasticity and texture of gluten-free baked goods.
Add 1-2 teaspoons of xanthan gum to your dry ingredients before mixing. This will assist bind the dough and create a extra cohesive and dough-like texture.
A mixture of different gluten-free flours, such as almond flour, coconut flour, and tapioca flour, can provide a better taste and texture than using just one type of flour.
Proofing the dough for an extended period of time, round 12-15 hours, allows the gluten-free flours to soak up more moisture and develop a greater flavor and texture.
Avoid overworking the dough, as this will toughen the buns.
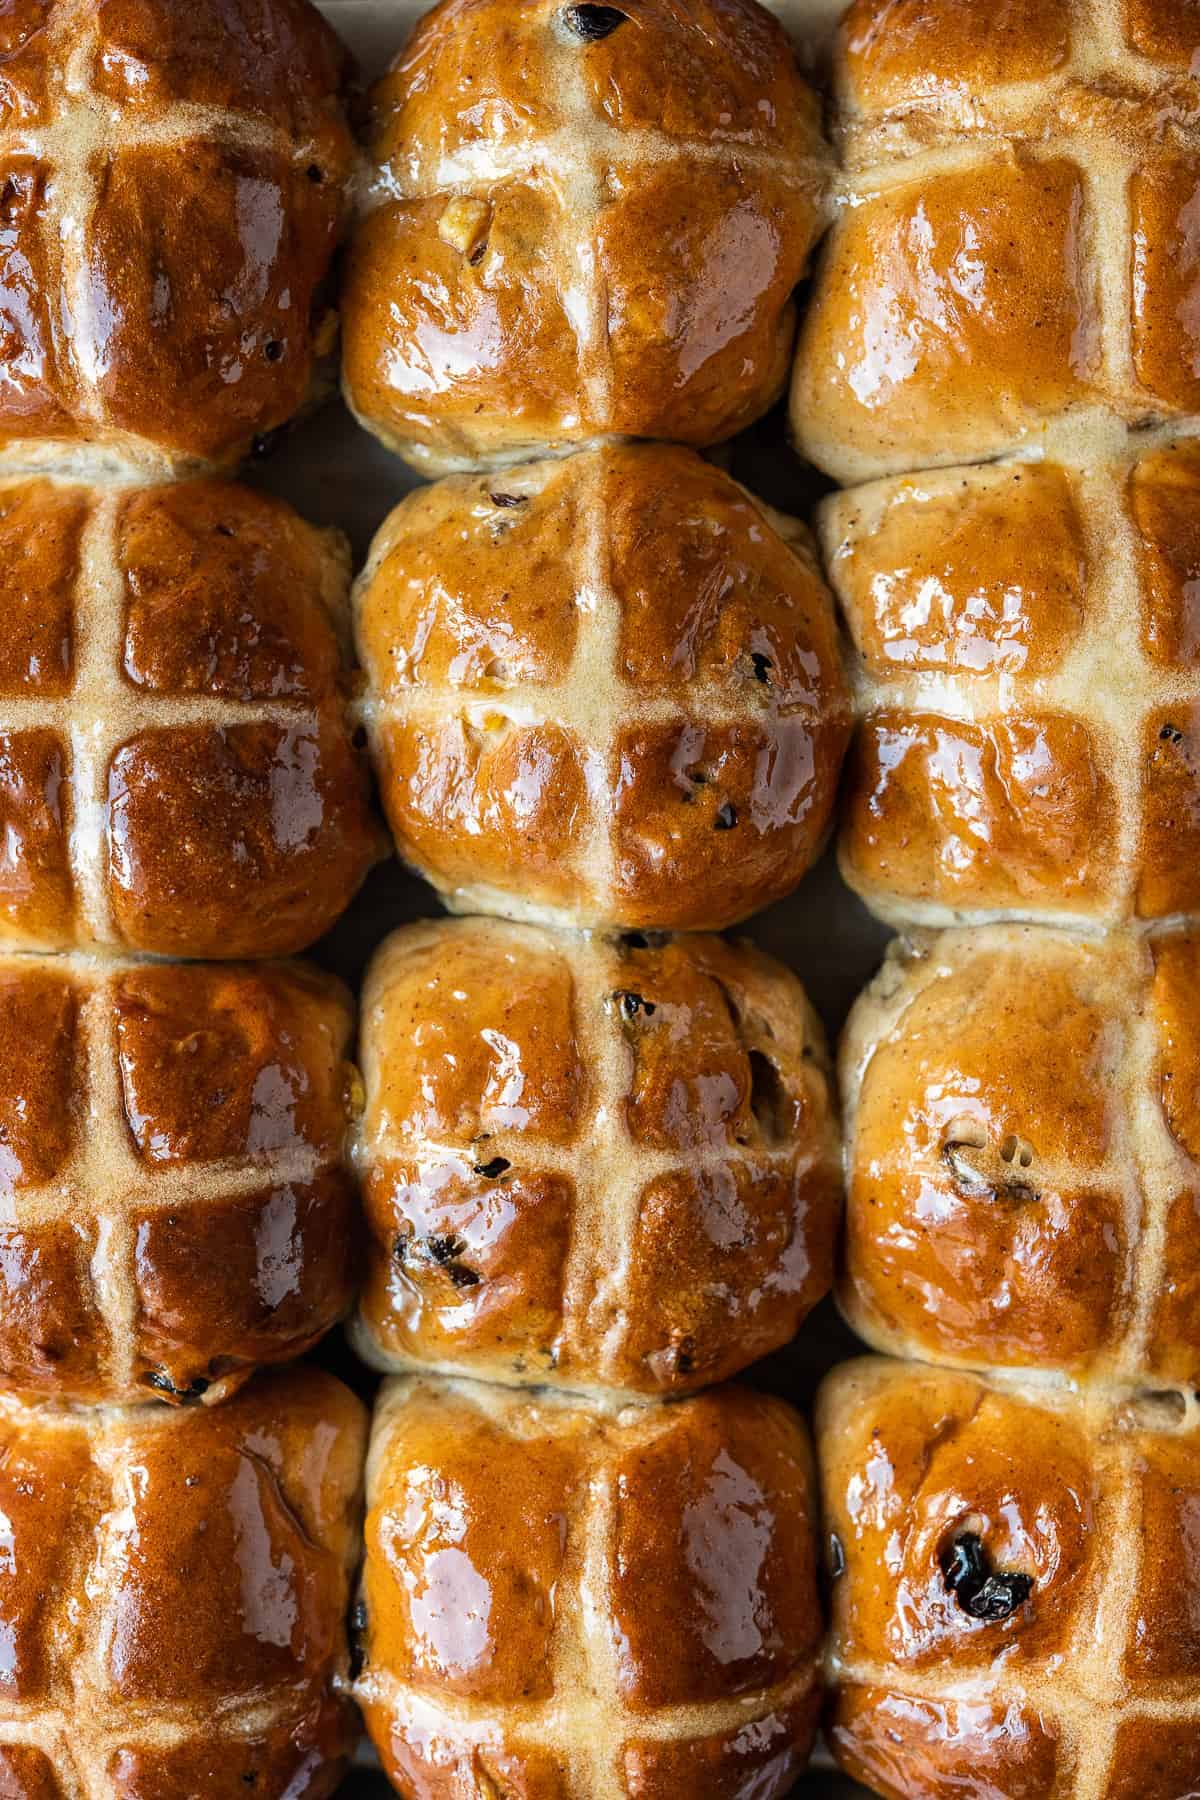
Brush the tops of the buns with a mixture of honey or maple syrup and water earlier than baking to create a shiny glaze.
Use a piping bag to create the traditional cross on high of the buns.
Bake the buns at a barely greater temperature, round 210-220°C (410-428°F), for the first 10-15 minutes to help them rise and obtain a golden brown crust.
Use Dairy or Plant-Based Milk
– Use dairy or plant-based milk to make the dough richer and extra flavorful.
– Add somewhat little bit of sugar to the milk to help the yeast bloom.
– Let the dough rise in a heat place for no much less than half-hour, or till it has doubled in dimension.
– Knead the dough until it is clean and elastic.
– Shape the dough into buns and place them on a baking sheet.
– Let the buns rise in a warm place for another 30 minutes, or till they’ve doubled in size.
– Bake the buns in a preheated oven at 375 levels F for 20-25 minutes, or till they are golden brown.
– Let the buns cool utterly before serving.
Proof the Dough Thoroughly
Proof the Dough Thoroughly:
Proofing helps develop the gluten community, which provides bread its structure and chewiness. Since gluten-free flour lacks gluten, proper proofing is important for creating tender and flavorful buns.
–First Proof: Allow the dough to rise in a warm, draft-free place for 1-2 hours, or until doubled in dimension.
–Punch Down and Shape: Punch down the dough to release any air bubbles. Divide it into equal portions, shape into buns, and place them on a greased baking sheet.
–Second Proof: Cover the buns with plastic wrap and let them rise for an additional hour, or until almost doubled in measurement.
Tips for Successful Proofing:
– Use warm water (110-115°F) to activate the yeast.
– Choose a warm and humid place for proofing, similar to an oven with a lightweight on or a proofing box.
– Avoid over-proofing, as it might possibly result in dense and crumbly buns.
– Monitor the temperature: Ideal proofing temperature is between 75-85°F.
Knead Gently to Avoid Toughness
– Use gluten-free flour that’s designed for baking. All-purpose gluten-free flours are usually a good selection.
– Make certain all your components are gluten-free. This contains any liquids or spices that you are using.
– Be cautious not to overmix the batter. Overmixing could make the buns powerful.
– Knead the dough gently. Gluten-free dough is extra delicate than regular dough, so it is essential to be light when kneading.
– Let the dough rise in a warm place. This will assist the dough to develop its full flavor and texture.
– Bake the buns on the right temperature. Gluten-free buns have to be baked at a decrease temperature than regular buns. This will assist to prevent them from drying out.
– Let the buns cool utterly earlier than slicing and serving. This will assist them to keep up their form.
Use Accurate Measurements
Use correct measurements when adding components to the batter, significantly in phrases of baking gluten-free hot cross buns.
Thoroughly measure dry elements like flour and sugar using a digital scale or leveled measuring cups to achieve the required consistency and texture for your buns.
Follow recipe directions carefully and keep away from making adjustments or substitutions with out thorough analysis and understanding of gluten-free baking.
Bake at the Right Temperature
Bake at the Right Temperature: Hot cross buns should be baked at a excessive temperature initially to create a great rise and golden brown crust. Start by baking at 425°F (220°C) for 10 minutes, then reduce the temperature to 350°F (175°C) and proceed baking for an additional 20-25 minutes or till golden brown and cooked through.
Glaze with Corn Syrup or Almond Milk
Tips for Perfect Gluten-Free Hot Cross Buns
Ingredients:
– 500g Gluten-free flour blend
– 7g active dry yeast
– 1 teaspoon sugar
– 1 half of cups heat milk (105-115°F)
– 1/4 cup melted butter
– 1 egg, beaten
– 1/4 cup dried cranberries
– 1/4 cup raisins
– 1/4 cup chopped walnuts
– 1 teaspoon cinnamon
– 1/2 teaspoon nutmeg
– 1/4 teaspoon salt
For the Cross:
– 1/4 cup plain flour
– three tablespoons water
For the Glaze:
– half cup corn syrup or almond milk
Instructions:
1. In a large bowl, whisk collectively the gluten-free flour mix, yeast, and sugar.
2. Add the warm milk, melted butter, and egg to the flour combination and blend till a dough forms.
3. Add the cranberries, raisins, walnuts, cinnamon, nutmeg, and salt to the dough and blend till nicely combined.
4. Turn the dough out onto a flippantly floured surface and knead for 5-7 minutes until it is clean and elastic.
5. Place the dough in a flippantly greased bowl, cover with plastic wrap, and let rise in a heat place for 1 hour, or until doubled in measurement.
6. Punch down the dough and divide it into 12 equal items.
7. Shape the items into buns and place them on a parchment paper-lined baking sheet.
8. In a small bowl, whisk collectively the plain flour and water to type a paste.
9. Transfer the paste to a piping bag fitted with a small round tip and pipe a cross on prime of each bun.
10. Cover the buns with plastic wrap and allow them to rise in a heat place for 30 minutes, or until they’ve nearly doubled in measurement.
11. Preheat oven to 375°F (190°C).
12. Bake the buns for 20-25 minutes, or till they are golden brown and sound hole when tapped.
13. While the buns are baking, warmth the corn syrup or almond milk in a small saucepan until it’s boiling.
14. As quickly because the buns come out of the oven, brush them with the corn syrup or almond milk glaze.
15. Serve the gluten-free hot cross buns heat.